



· Yogesh Khedar· Operations· 4 min read
Recommended Cameras for Survey and Mapping Work
Mechanical shutter, sensor size, RTK — what actually matters when choosing a mapping camera, with field lessons from the AeroInspekt project.
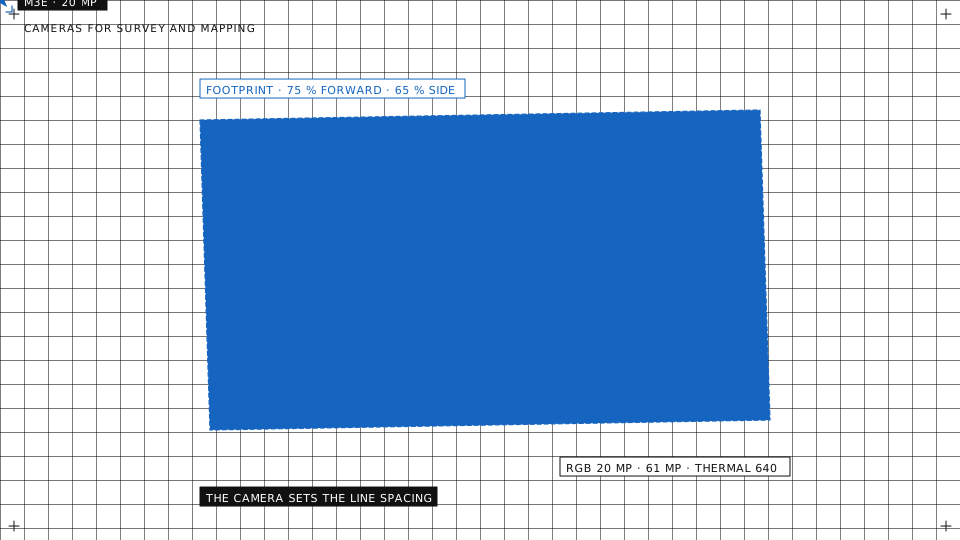
“Which camera should I map with?” is one of the most common questions we get, and most answers online are spec-sheet recitals. Here is the field version: what actually matters, which class of camera fits which job, and what we learned flying inspection and mapping campaigns in the AeroInspekt project.
What actually matters
- Mechanical shutter. A rolling shutter exposes the frame line by line while the aircraft moves, so straight edges lean and the photogrammetry software has to model the distortion. It copes, but accuracy and reconstruction quality pay for it. For serious mapping, a mechanical shutter is the single most underrated line on the spec sheet.
- Sensor size over megapixels. A 20 MP one-inch sensor with good optics beats a cramped high-megapixel sensor in dynamic range and per-pixel quality, and megapixels are not resolution on target anyway.
- RTK or PPK positioning. Centimetre camera positions cut the ground-control workload to a few check points. For recurring surveys of the same site, this is what makes two dates directly comparable without re-surveying the targets.
- A fixed, calibrated lens. Zooms are for inspection detail. Mapping wants a stable focal length that the processing software can calibrate once and trust.
- A camera the planner knows. The survey plan derives line spacing and photo interval from the camera’s sensor and lens. A camera the planner has a profile for gets the overlap you asked for; an unknown one gets a guess.
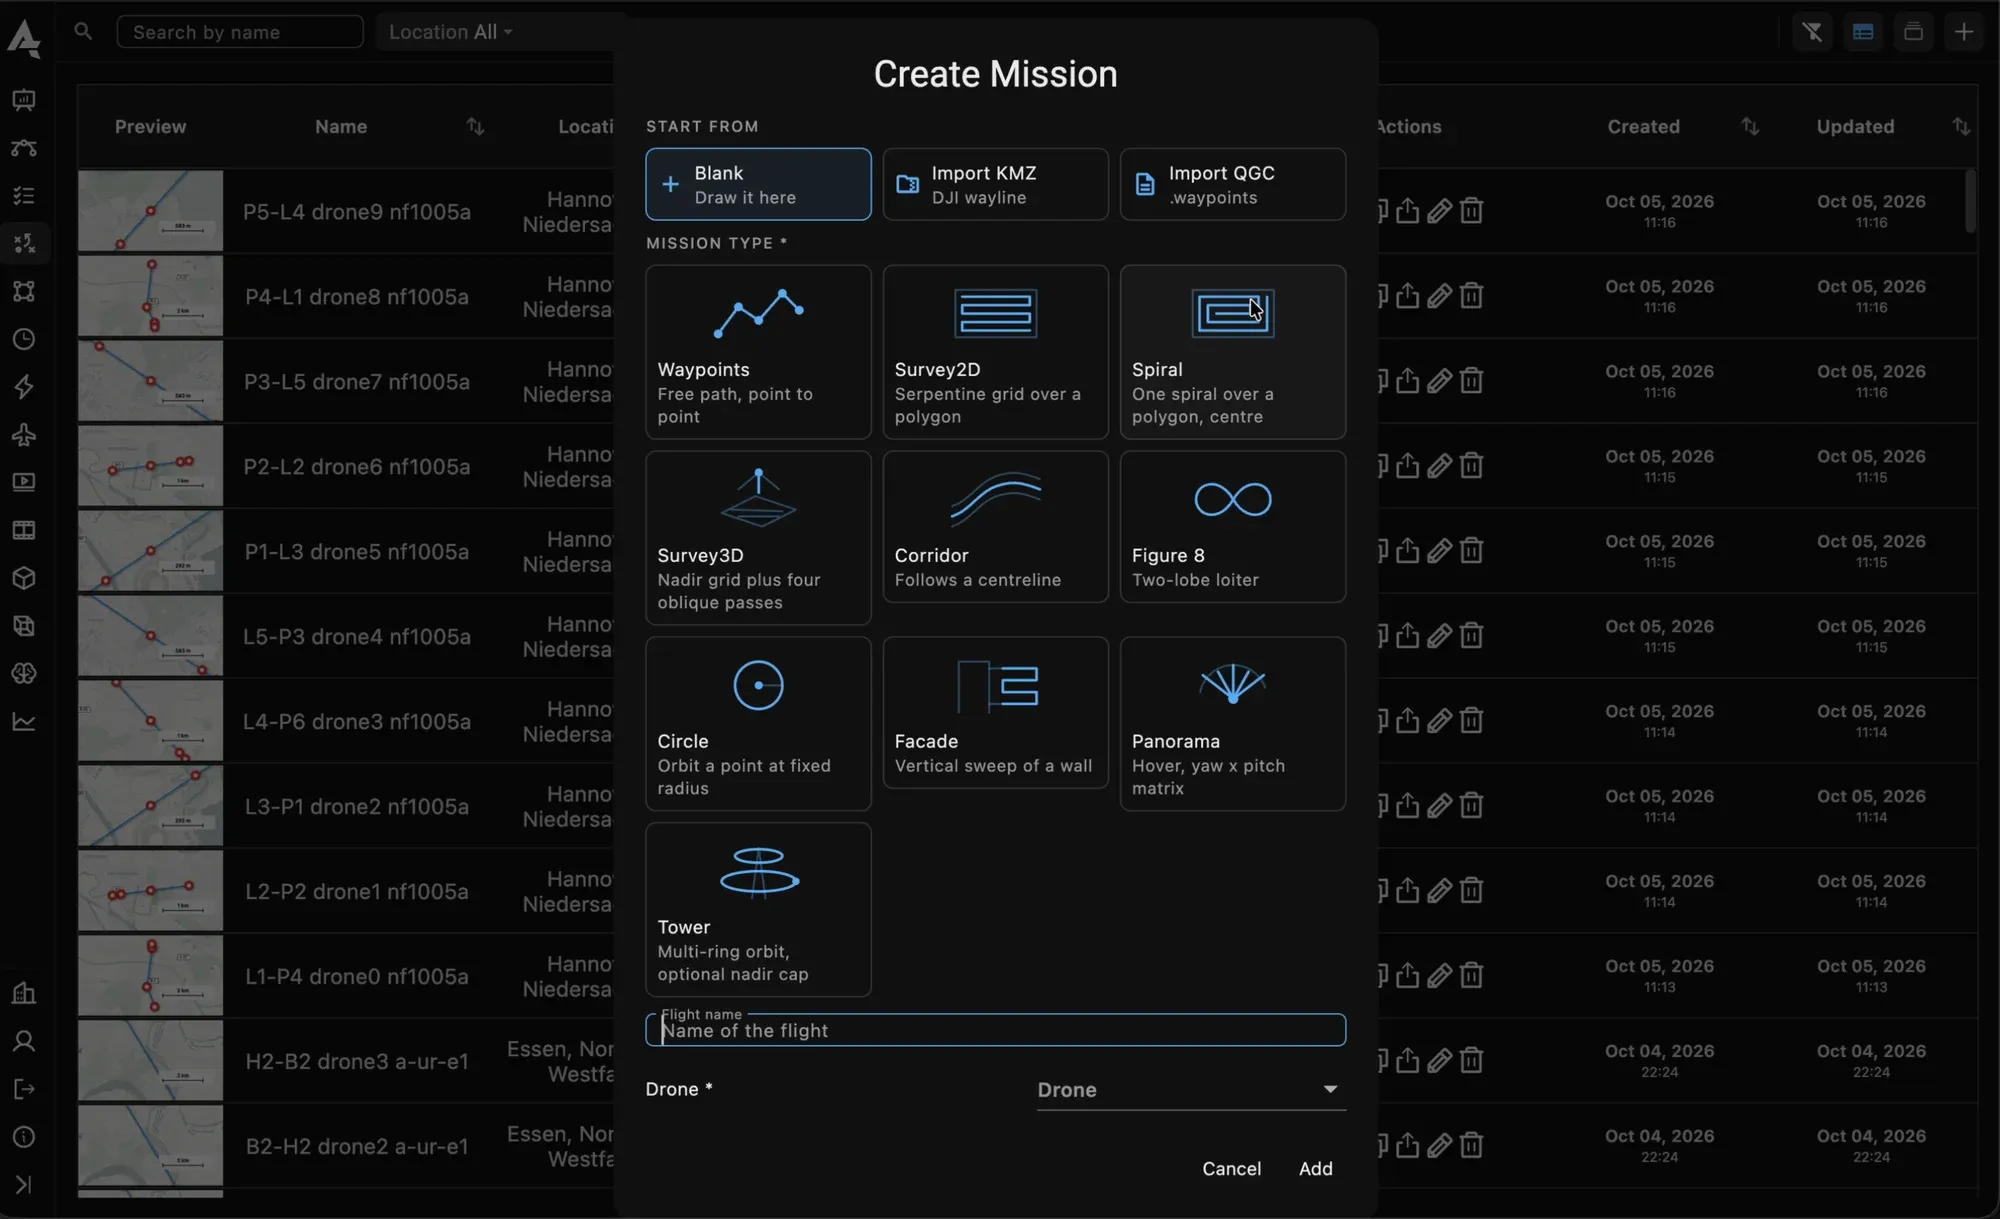
The plan-type picker: waypoints, 2D and 3D survey, spiral, corridor, facade, panorama and tower.
Three classes that cover most work
- Integrated one-inch, about 20 MP, mechanical shutter. The Mavic 3 Enterprise class. The workhorse: site surveys, stockpiles, construction progress, solar layouts. With RTK, survey-capable for most deliverables, and light enough to fly from a dock on a schedule.
- Full-frame payload, about 45 MP. The P1 class on a larger airframe. When the GSD requirement tightens, for engineering-grade topography, dense urban mapping or facade work, this class delivers it with fewer flights.
- Medium format, 100 MP class. Forced standoff distances and fine defect mapping. Bring a data plan; the volumes are serious, and so is the aircraft.
A radiometric thermal camera is the fourth, mission-specific tool: solar diagnostics, search work, gas and heat surveys. It is usually a second payload, not a substitute. The survey planner in AutrikOS knows the thermal cameras of the Mavic 3T, Matrice 3TD, M30T, Matrice 4T and 4TD and the H30T, so a thermal survey is flown with the line spacing the thermal sensor needs, not the RGB one.
What AeroInspekt showed us
In the AeroInspekt campaigns we flew several camera classes over the same infrastructure. Three lessons recurred.
Flight discipline moved results more than swapping cameras did. Overlap, speed, light and a consistent altitude above the ground, not above the take-off point, decided the quality of the model. A survey that follows the terrain along each line keeps its GSD constant on a slope; one flown at a fixed height does not.
The one-inch mechanical-shutter class produced deliverables clients accepted for the large majority of tasks. The big sensors earned their place exactly where standoff distance was forced on us, and nowhere else.
The data pipeline decided the turnaround. A camera that uploads by itself after landing, into a project that already knows which flight the photos belong to, beat a better camera whose SD card travelled in a jacket pocket.
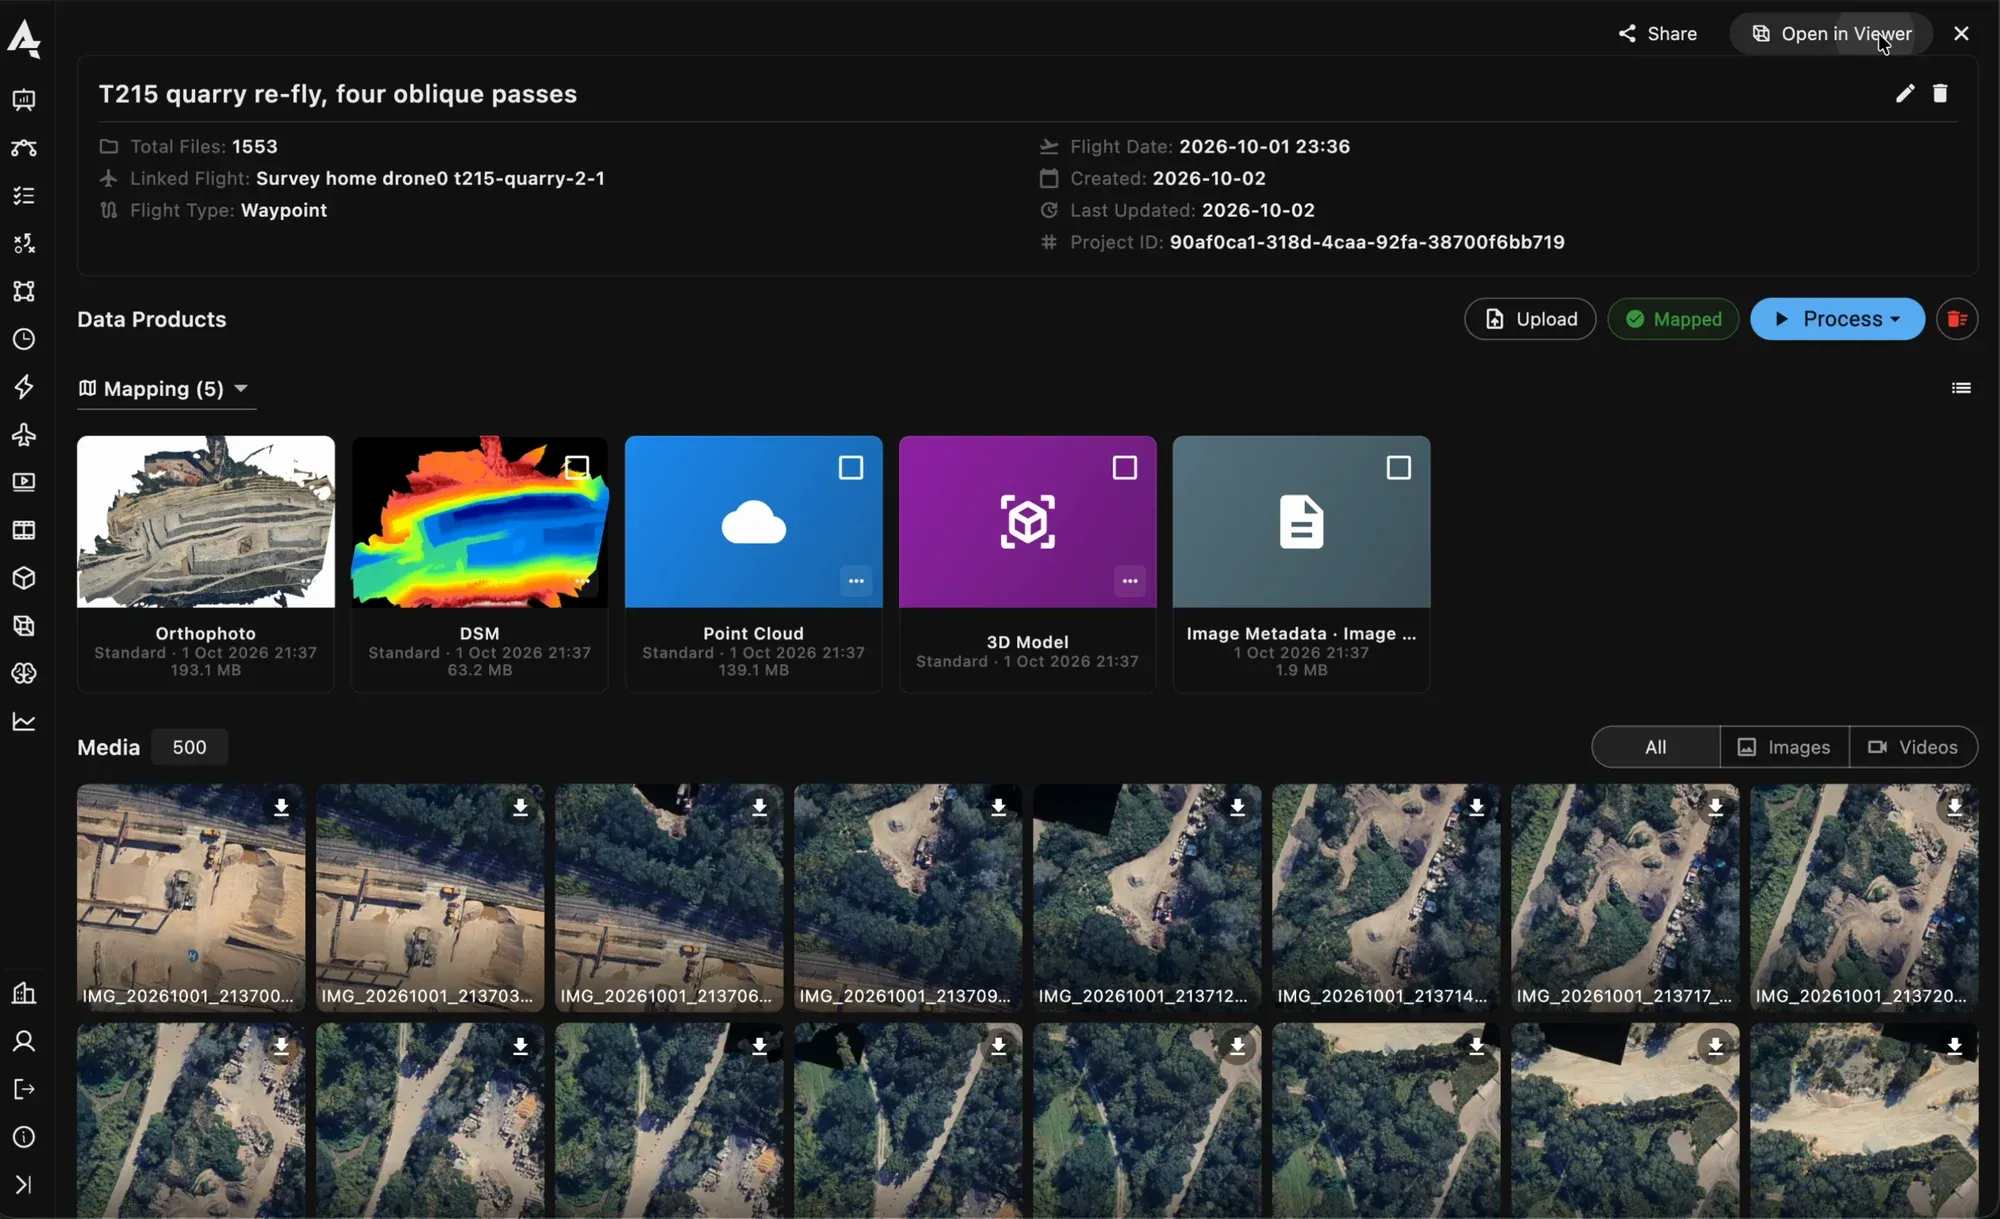
A project after the flight: orthophoto, elevation model, point cloud and mesh above the source images.
The part after the camera
Whatever captures the images, the value shows up after landing. In AutrikOS the photos upload by themselves when the aircraft is back on the ground or in its dock, filed under the flight. Processing runs on our servers into an orthomosaic, an elevation model, a point cloud and a mesh, with the quality and alignment settings chosen per run and every run kept as a version. The project map is where the measuring happens: distances, areas, volumes with cut and fill, a temperature at any point of a thermal map, and two dates of the same plan swiped against each other.
Choose the camera for the deliverable. Choose the platform so the deliverable makes itself.
Sizing a camera for a specific deliverable? Ask us, including whether the cheap option already covers it.